-
savings
You may also like...
-
savings
Subtotal ( items)
Shipping FREE
Discount
Cart is empty
 Unlock 10% off your first order
Receive new articles, exclusive discounts and special offers.
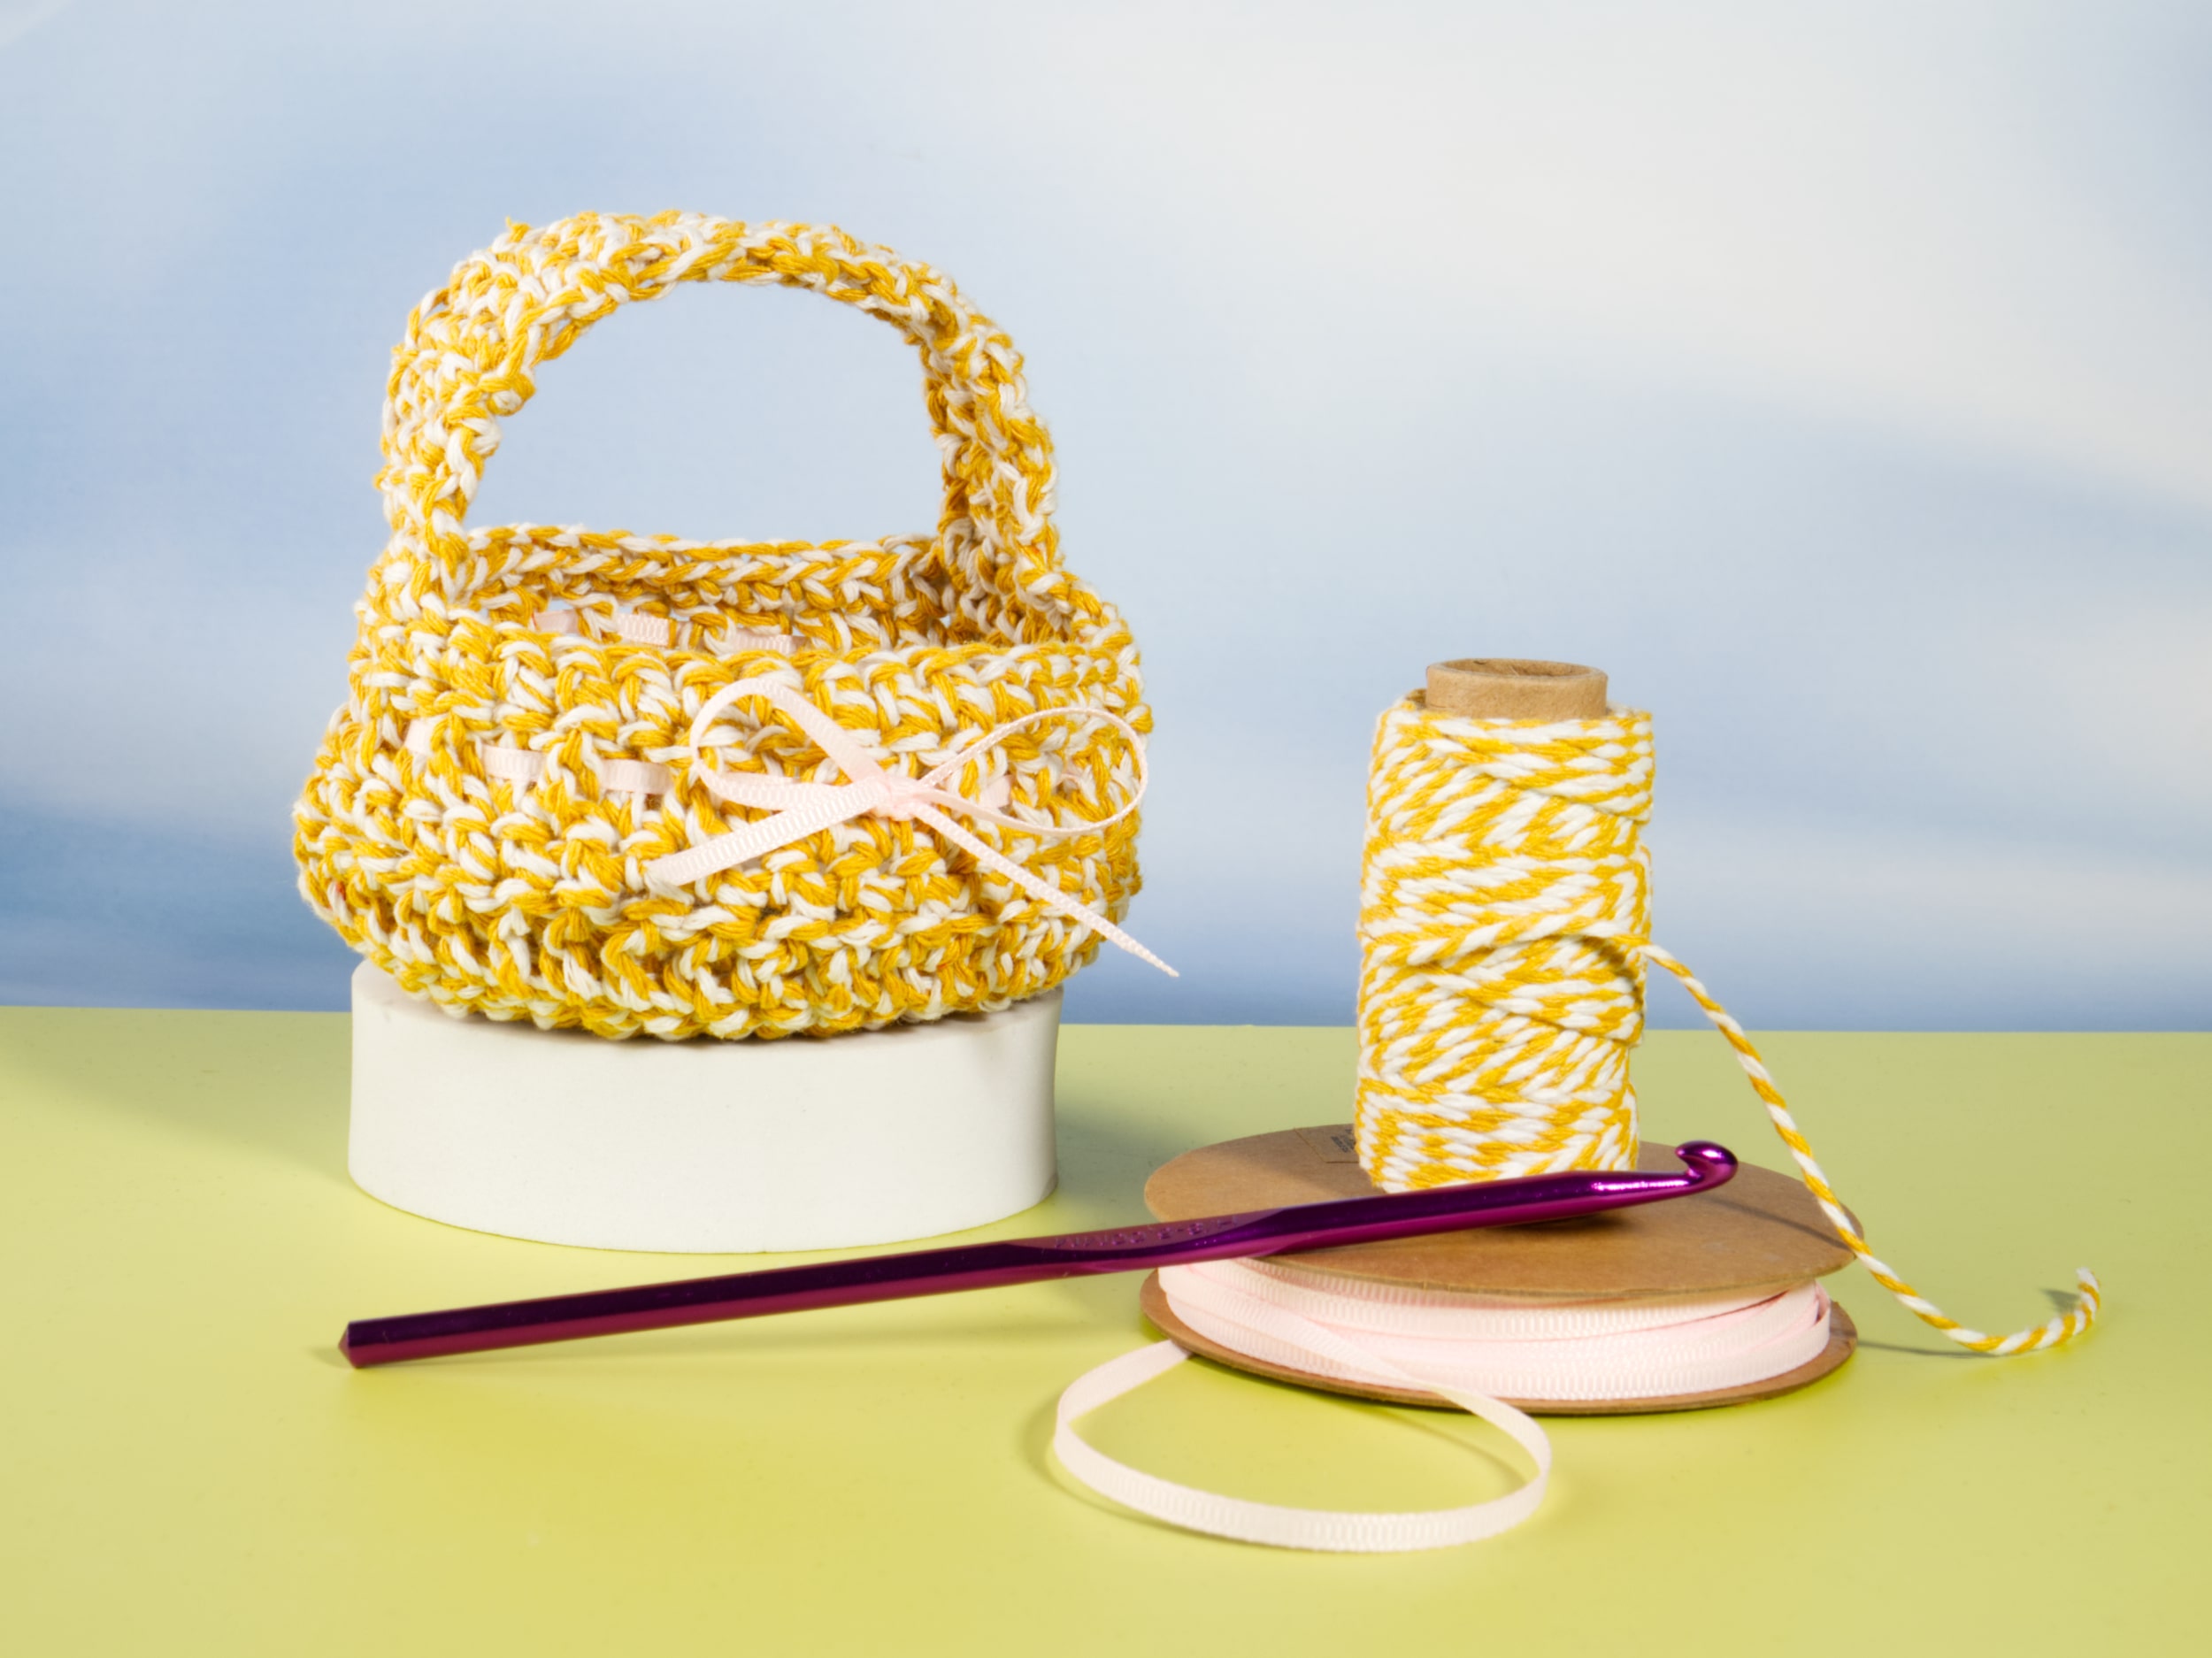
Welcome to our delightful tutorial on crocheting a charming little basket using baker’s twine! Whether you’re an experienced crocheter or new to the craft, this project is ideal for honing your skills while creating a functional and aesthetically pleasing item.
Baker’s twine, with its sturdy yet flexible nature, adds a rustic charm to any handmade creation. In this tutorial, we’ll guide you step by step through the process of transforming this simple twine into a lovely basket that can be used for storing small items, as a decorative piece, or even as a thoughtful gift.
Not only will you enjoy the calming rhythm of crocheting, but you’ll also unleash your creativity as you choose colours and patterns that reflect your personal style. So grab your crochet hook and a couple of rolls of baker’s twine, and let’s dive into this fun and rewarding crafting adventure! Feel free to pause and revisit any step as you progress, and soon you’ll have a beautiful little basket to display with pride!
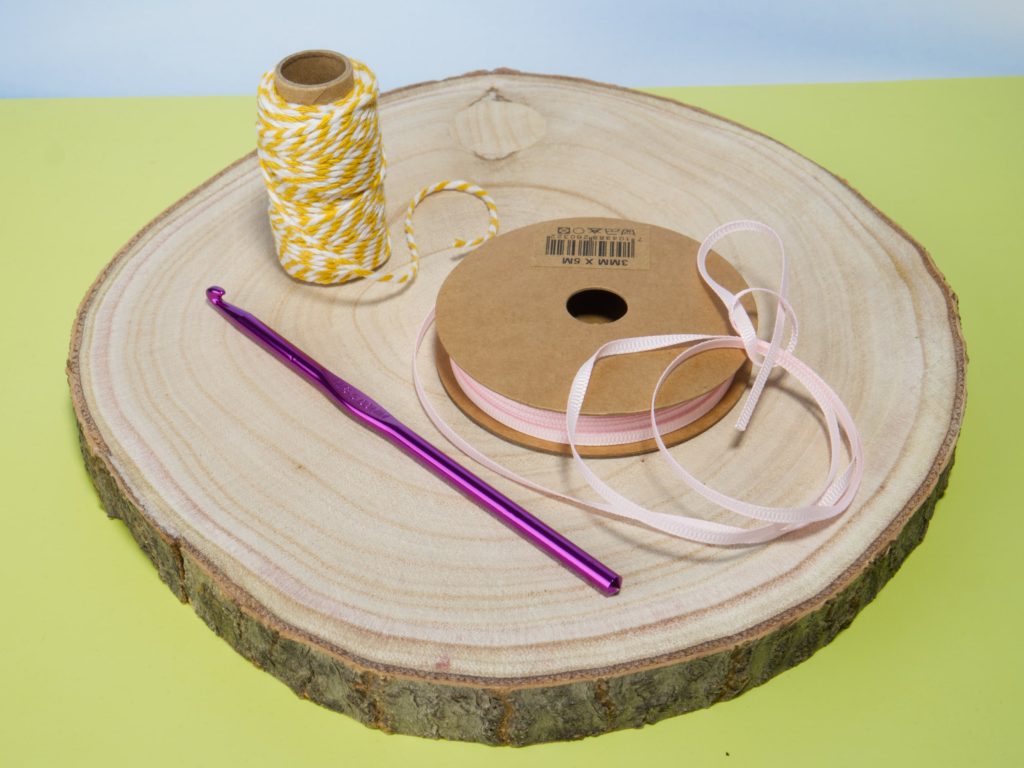
Materials You’ll Need:
These materials will bring strength, functionality, and charm to your project. The baker’s twine provides a rustic yet sturdy base, while the crochet hook ensures smooth handling for precise stitches. Add stitch markers to keep track of your rounds, and consider weaving in a decorative ribbon for a pop of colour and a stylish finish. With everything ready, you’re set to enjoy an engaging and creative crafting experience!
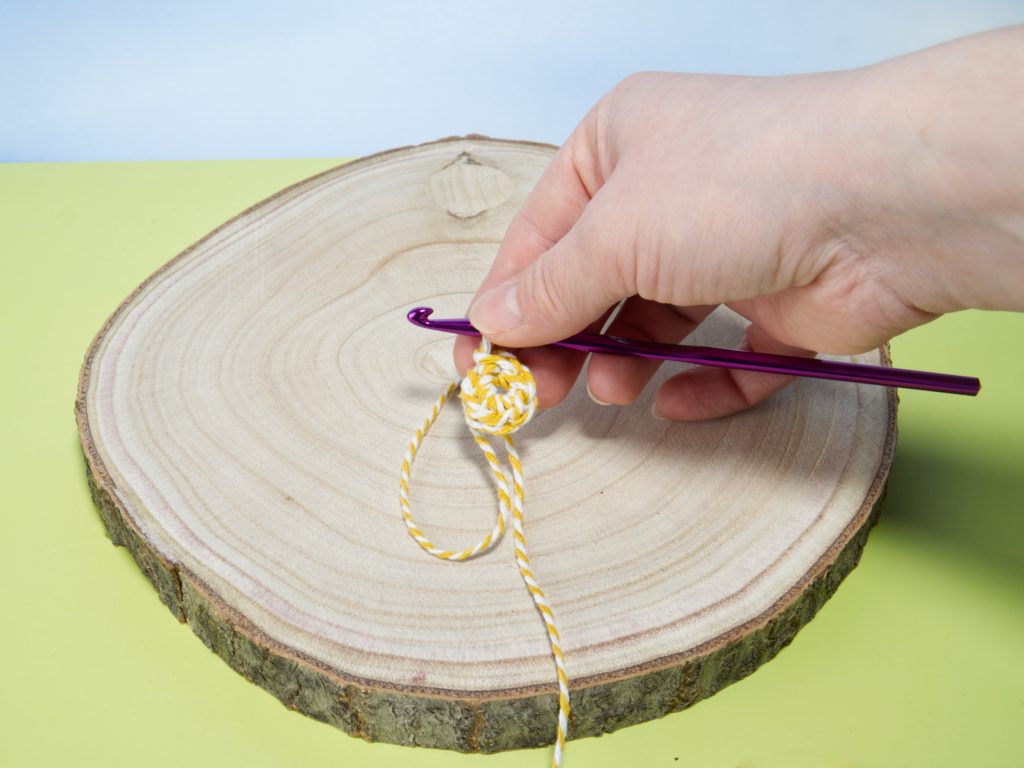
Begin by creating a magic ring and working six single crochet stitches into it. Ensure your stitches are even and closely spaced. If the ring feels loose, don’t worry; you can easily tighten it after completing the first round—it’s all part of the magic!
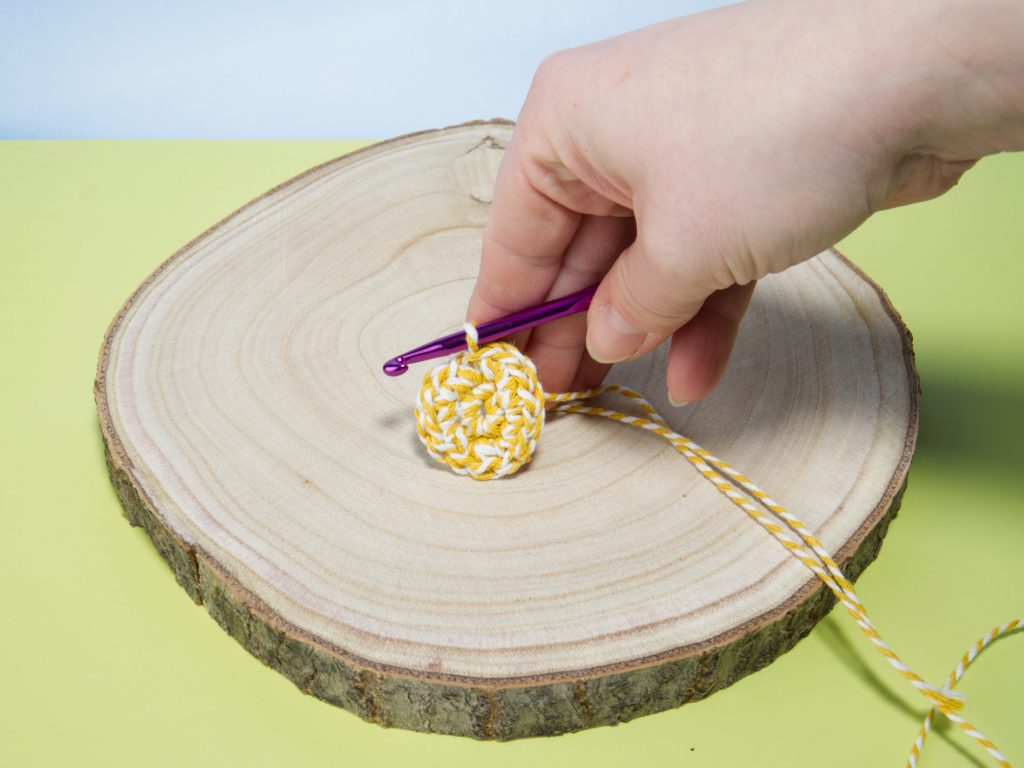
The next round focuses on increasing the size of your basket base. In this round, add two single crochets to each of the initial six stitches. You’ll end up with double the number of stitches—12 in total. Using baker’s twine adds a lovely texture to your project, giving it a sturdy feel right from the start!
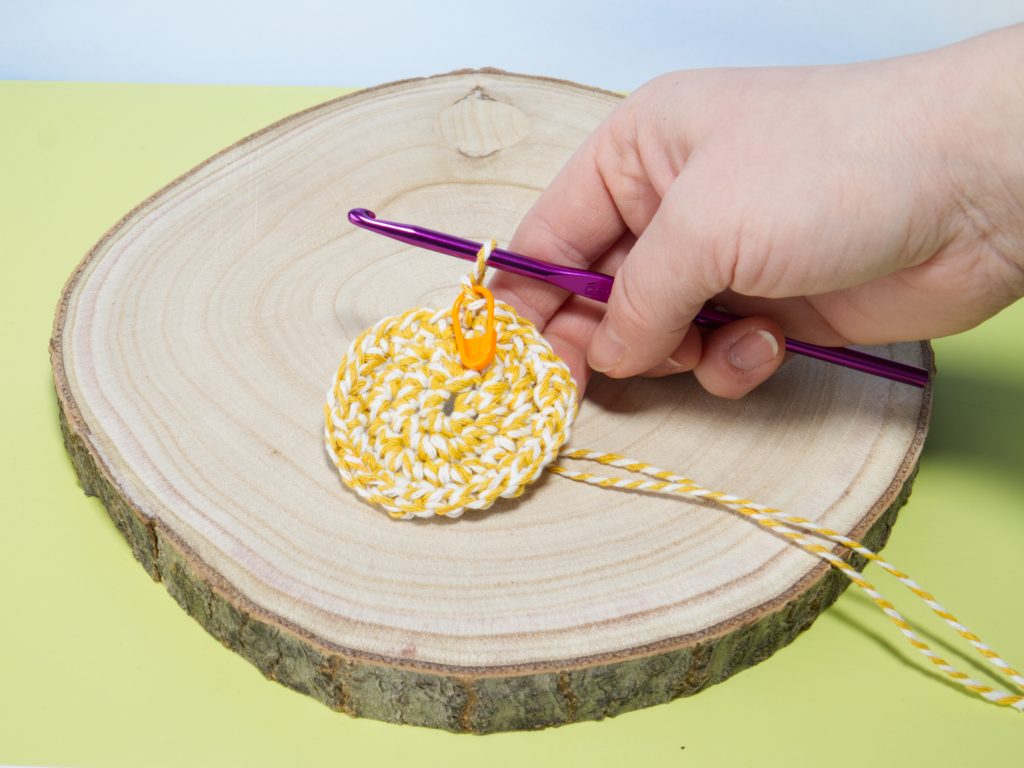
Starting from round three, we recommend using a stitch marker to help you identify the beginning of each round. Working in rounds can be somewhat challenging, and it’s easy to lose track of where a new row starts, so be sure to monitor your stitch count. In this round, we are increasing every other stitch, which means you should finish with a total of 18 stitches.
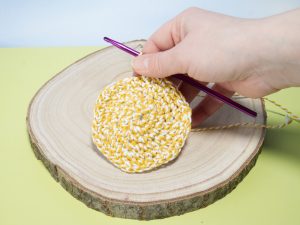
Your base should steadily expand with each round. Up to round six, you’ll continue increasing its volume. Make sure it grows evenly on both sides, as an uneven base could leave your basket looking slightly lopsided!
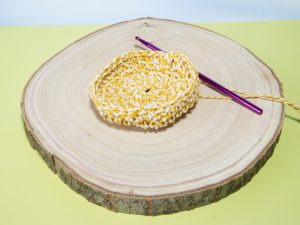
As you reach round seven, your basket will stop expanding sideways and start rising upwards. There’s no need to add any more stitches at this stage. Simply continue working in rounds and enjoy seeing your basket take shape.
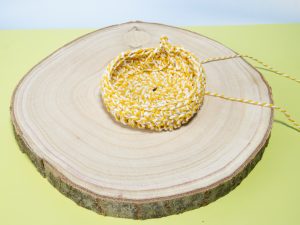
Additionally, as you begin to build the height of the basket, we have incorporated double crochet stitches to help it grow faster and give it a more refined appearance.
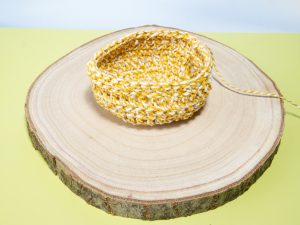
Once you’ve reached your desired height, it’s time to move on to the handle. You have two options for this step. First, you can continue working directly on the basket by picking up where you left off—simply work four single crochets across before chaining and turning. Alternatively, you can cut the yarn and create the handle separately, which provides more flexibility when attaching it to the basket.
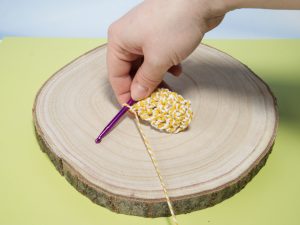
Once you have attached the handle to the basket, you can add a pop of colour and style by embellishing it with ribbon to make it more personal. Simply weave the ribbon through the second row of double stitches. We used 3mm grosgrain ribbon, which worked perfectly!
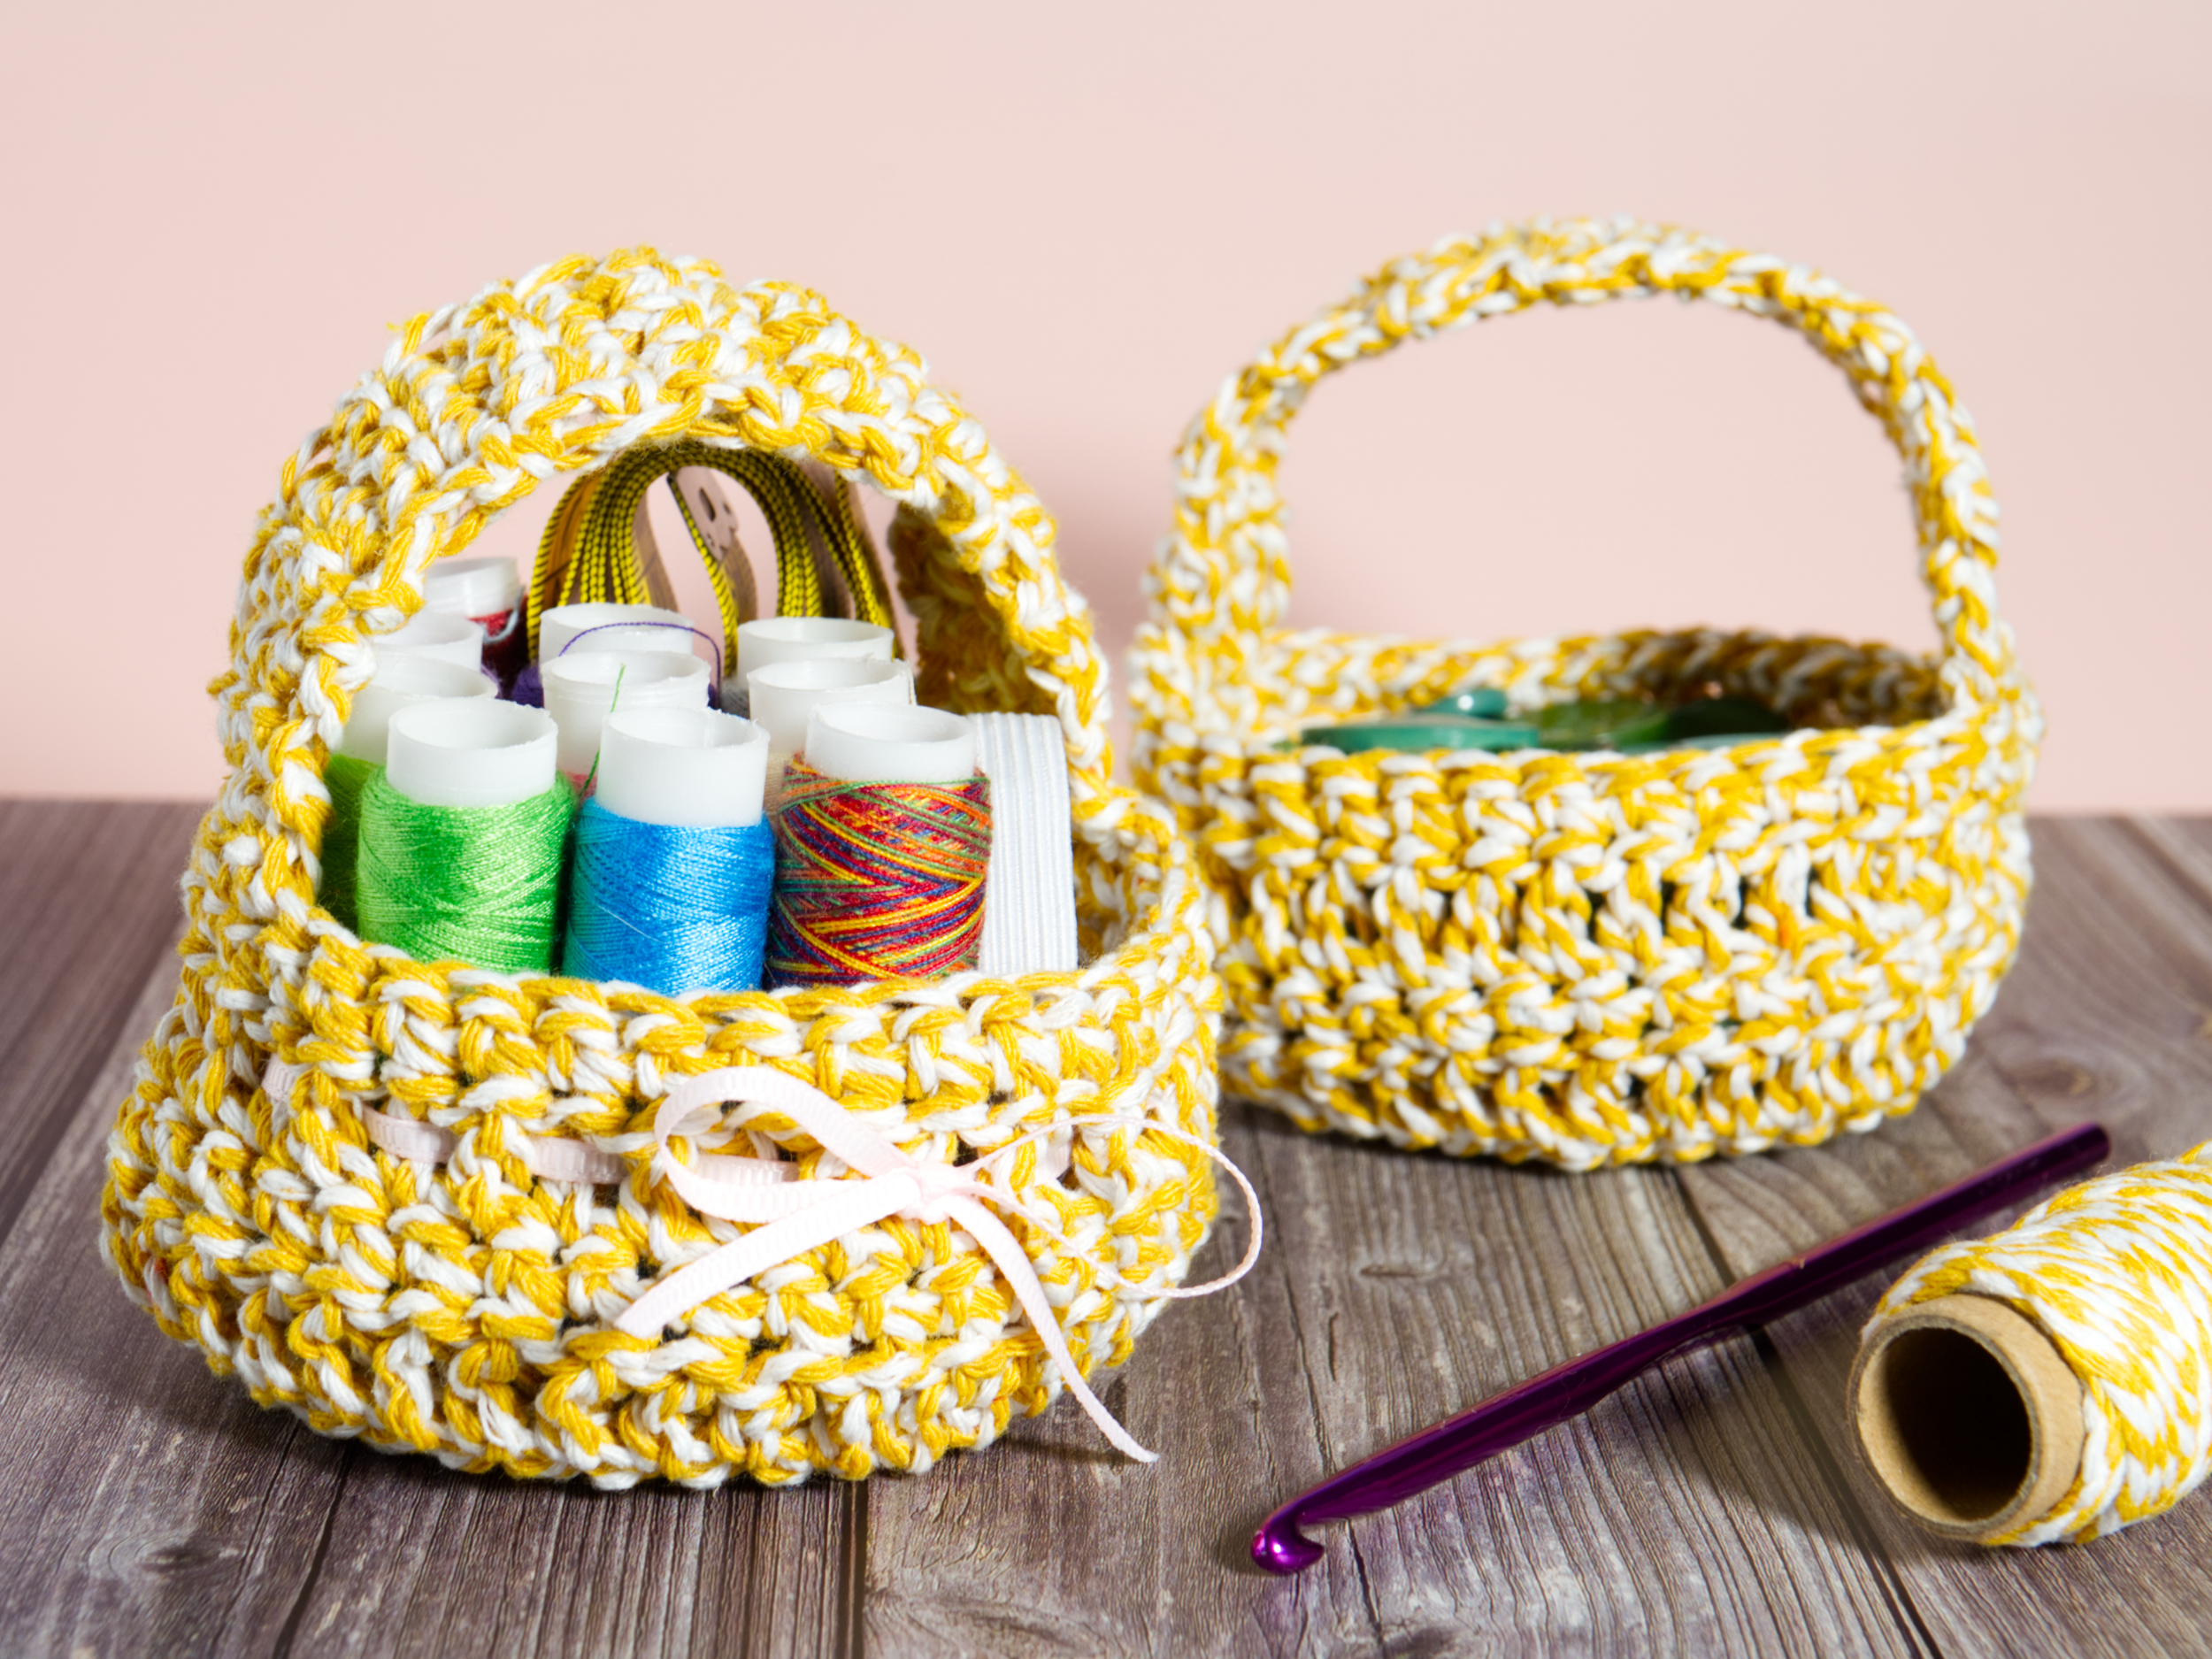
And there you have it! A charming, adorable basket perfect for organizing all your small items. Whether it’s pins, thread, elastics, buttons, or anything else, this basket is versatile enough to accommodate them all. It could even add a festive touch to your Easter decor! We love this project for its simplicity; even if you only crochet occasionally, you’ll find it easy to tackle. Plus, it’s quick to make—taking just 40 minutes to an hour! We can’t wait to see your creations, so be sure to download your free pattern and get started on this lovely basket. If you need baker’s twine, visit our shop. Don’t forget to share your finished baskets by tagging us on social media. Happy crafting!
Occasionally, we can send you an email with news. Don’t worry, we will never share your email address with anyone else.